Color Grading in Radiant Photo
I am the Chief Product Officer for Radiant Photo... let me share a little about how we handle color... both the technical and creative process. This is not a tutorial, more a look inside the process of creation.
How a Looks Pack Comes to Life
At Radiant Imaging Labs, we’re big fans of color—color theory, film history, and the way a good grade can steer emotion without saying a word. We’re also deeply in love with black-and-white and the creativity it unlocks.
At Radiant Imaging Labs, my job is to design the products we bring to life. It’s always a team effort—across product, engineering, design, and QA—but it’s on me to make sure that what we release is top-quality.
Where does color fit in?
We use Looks. Looks are powered by LUTs—Lookup Tables—which map one set of color and tone values to another. Think of a LUT as a translator: “When you see this red at this brightness, turn it into that red at that brightness.” In film and video, LUTs have been a staple for decades. They can be technical (to normalize footage from a specific camera or color space) or creative (to emulate a film stock, push a mood, or build a signature palette).
The first product I built Looks for was Perfectly Clear. Later, I designed many of the Looks that shipped with Aurora HDR and Luminar at Skylum. I love the idea that you can encapsulate a creative intent—taste, really—into a single file and share it.
---
Only the Smart Editing tools are used here. Image Segmentation creates the masks used to precisely target areas like the sky and foreground for independent adjustment. A detailed analysis and computation balances image details and colors while still offering control to the end user.
How do we prepare for color grading?
In Radiant Photo, we made LUTs incredibly flexible—and we made sure they sit in the right place in the pipeline.
Rendering order (how Radiant enhances an image):
*
Smart Editing
Start with the Enhance and Color controls. These do the heavy lifting—exposure balance, color fidelity, and detail optimization—so your image lands at a clean, natural starting point.
*
Adaptive Adjustments
Next, a set of responsive tools address tone, color imbalances, and—when present—skin rendering. These tools are adaptive to image content, but you’re always in charge of how far they go.
At this stage, your photo should look natural—often better than the camera’s default processing and closer to how you remember the scene. This standardization (consistent tone, exposure, and white balance) makes color grading faster and more predictable.
Both Smart Editing and Adaptive Adjustments were applied to restore the color and shadow detail that I remember when taking this photo.
Color grading = manipulating color and tone to create an emotional mood or emulate a traditional film stock.
Now you’re ready for Color Grading—a finishing step that adds style. You’ll find Looks for film emulation, black-and-white, and creative color treatments.
How do we use LUTs.
In Radiant Photo, LUTs are delivered as Looks. They’re independent of other controls, which means you can finish your technical edit first, then audition creative styles without disturbing your base corrections.
LUTs are independent of the settings used to develop an image. This means that you can combine them with the Develop Settings or Presets quite easily.
Try this workflow:
*
Develop your initial image.
*
Open the Color Grading tool.
*
Browse Look collections via thumbnails to preview styles.
*
Pick a Look and fine-tune with three simple, powerful sliders:
*
Strength — Controls intensity. As a starting point, try 50–75. For Black & White Looks, begin at 100.
*
Saturation — Ranges –100 to 100. This adjusts how much the Look colorizes the image. (Tip: Any color Look can be pushed to monochrome or anywhere in between.)
*
Contrast — Ranges –100 to 100. Adds or subtracts contrast introduced by the Look so you can keep depth without crushing detail.
You can switch between Looks freely—the Strength, Saturation, and Contrast settings you’ve set will persist. This makes it easy to lock in a general “feel,” then click through variations while maintaining the same relative balance.
The sheer variety you can coax from a single Look file is surprising. Subtle nudge, bold grade, clean monochrome—it’s all there with three controls.
Common pitfalls & quick fixes
*
Looks feel “too much”: Lower Strength first; if skin tones still feel hot, reduce Saturation slightly.
*
Crushed shadows or clipped highlights: Pull Contrast toward zero, then revisit Strength.
*
Color cast after applying a Look: Use your base Tint/White Balance or Radiant’s Tint Correction before grading to neutralize—then re-apply the Look.
How do we make LUTs?
There are many ways to make a LUT—some NLEs can export them, and yes, even AI tools can help. Here’s the process I rely on most.
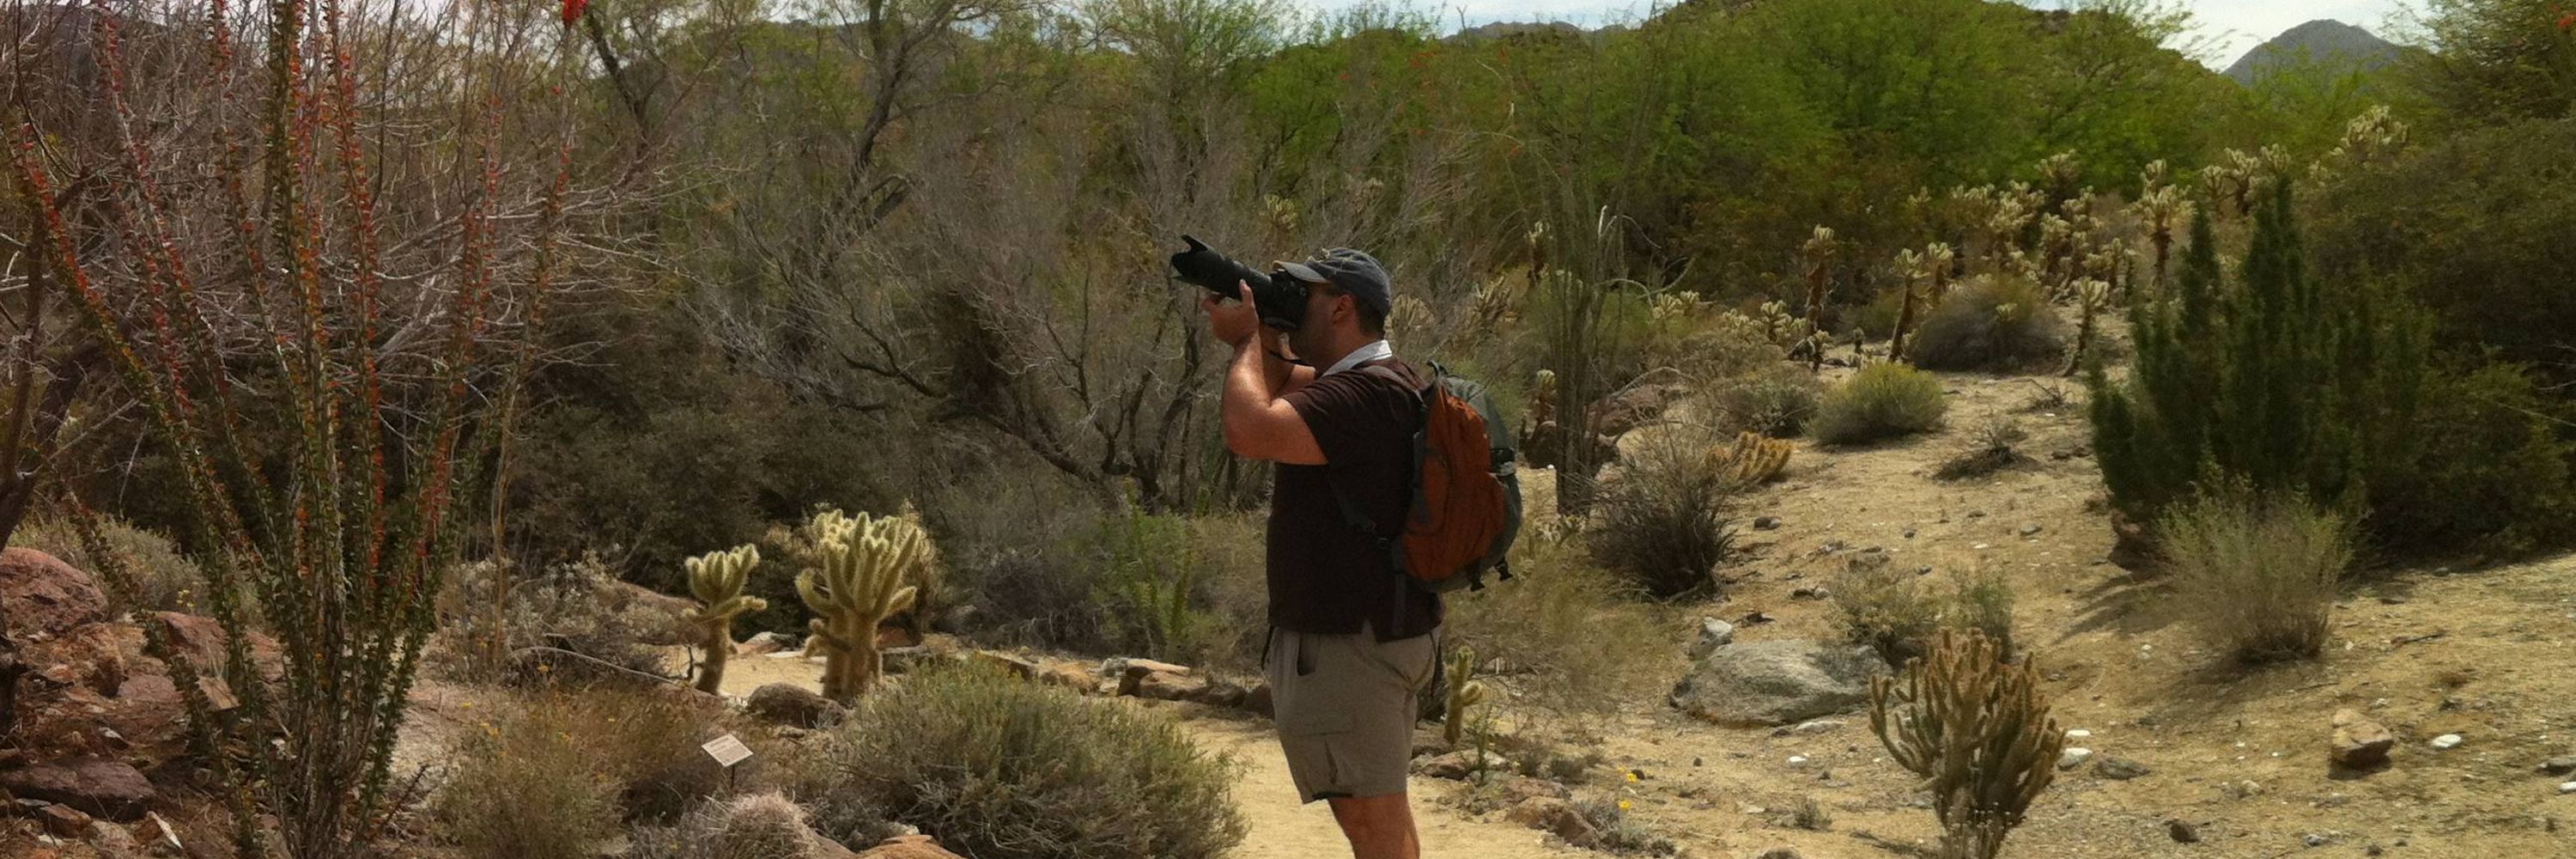
On a recent trip t London with my wife and daughter we visited a wide range of museums. These served as a great inspiration for color palettes to capture.
Step 1: Find inspiration
Museums, travel, a walk in the woods—anywhere the light or palette makes me feel something. I’m looking for mood first, specific colors second.
Step 2: Capture references
I like using Adobe Capture to photograph color moments and generate starter LUTs. These sync to a Creative Cloud library and give me a quick “seed” of a palette to explore.
Step 3: Build it up in Photoshop
I open a grid of representative images—portraits for people-centric Looks, landscapes for travel Looks, etc. No LUT works for everything, but versatility matters.
*
Add a Color Lookup adjustment with the captured LUT.
*
Stack additional Adjustment Layers—Curves, Selective Color, Vibrance, etc.
*
Blend and refine with opacity and blend modes to shape tone and palette.
Step 4: Export a LUT
Use Photoshop’s export command to bake your adjustment stack into a LUT. This first pass is close—but not finished.
Step 5: Refine in a LUT editor
I open the LUT in Lattice to visualize curves and the 3D color cube. Here I smooth jagged transitions, tame overshoots, and nudge channels to avoid artifacts like banding, crushed color, or posterization. A good creative LUT should be expressive and stable.
Step 6: Organize & name
We package Looks into themed packs and give them memorable names. We used to go with “Teal & Orange 1–5.” Now we have more fun—names that suggest mood and use case. Internally we even use a tiny name-brainstorming GPT to spark directions.
Step 7: Test, then test again
Fresh eyes are priceless. Our team pushes the Looks on all kinds of images, with sliders at conservative and extreme values. If anything breaks—strange edges, plastic skin, clipped channels—we polish again.
Step 8: Pack & share
We build installers, prepare before/after demos, and create web previews so you can audition packs before you buy. We want our customers to feel confident in their creative purchases (but we still offer a money-back return policy since creativity is personal).
Seems Like a Lot?
Plenty of presets out there are made fast and shipped faster. That’s not us. Radiant Imaging Labs is owned and run by photographers who love making images. The settings we ship are meant to inspire and hold up under real-world use. That means robust design, careful testing, and flexibility built in.
Is that the end of Color Grading?
Looks are often the final creative step—but we really love color. You’ll also find:
*
Adjustable Gradient for vignettes, graduated filters, and power windows—with tonal and color refinements right in the mask.
*
A full set of Finishing Tools at the end, mirroring what you expect from pro photo apps—subtle halation, grain, sharpening, and more to unify the image.
These tools let you localize and polish after you’ve set the global style.
How does this all work together?
We’re often asked why we don’t have more sliders. Two reasons:
*
Clarity over clutter
You don’t judge a camera by how many buttons it has, or a car by the number of pedals. We’d rather give you the right controls in the right order.
*
Maximum image fidelity
Radiant works in 16-bit color, and each stage of editing is independent. You can tweak AI Smart Editing, Refine Controls, Color Grading, or Finishing in any order—your changes flow through one concatenated processing pipeline. Many apps re-render after each step, degrading pixels and slowing you down. We don’t. Your photo is processed once, which preserves quality and keeps edits fully adjustable.